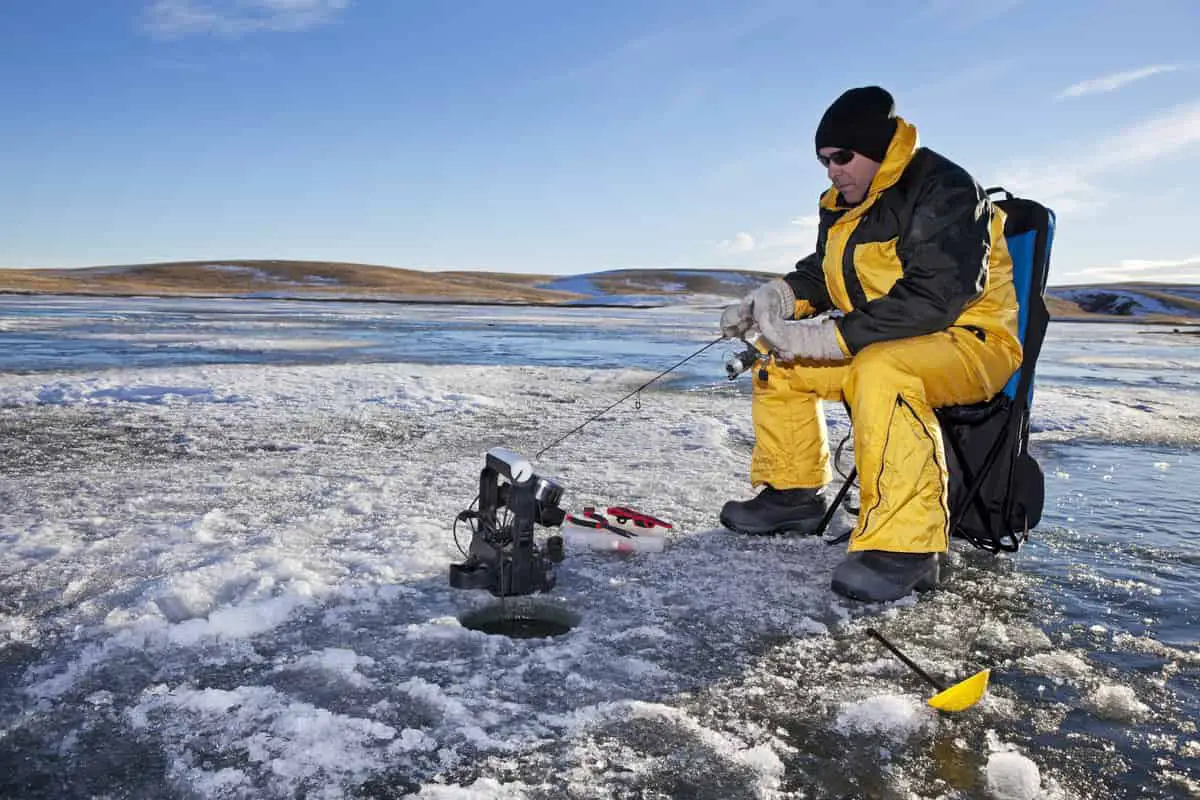
Keeping minnows fresh and active can be the difference between having a mediocre or a great day catching fish while on the ice! What are the secrets to keeping minnows lively on the ice all day?
Keep minnows alive longer when ice fishing by using an insulated cooler with a battery-operated aerator/bubbler. Use lake water to freshen the oxygen levels. Add bits of ice or snow to keep the water cooler. Do not overcrowd your minnow bucket. Store your minnow bucket beneath the ice in the water.
Purchasing minnows can be expensive depending on the part of the country you’re fishing in. And trapping them can be time-consuming! So keep scrolling if you want to keep them at their best!
Why Minnows Die So Fast
When you want to keep the bait alive for more extended periods on the ice, you need to take a quick look at the conditions that make them die quickly.
Here are the most common issues that will make even the best minnows die in a relatively short time! With proper handling and care, your baitfish minnows should last you throughout the day.
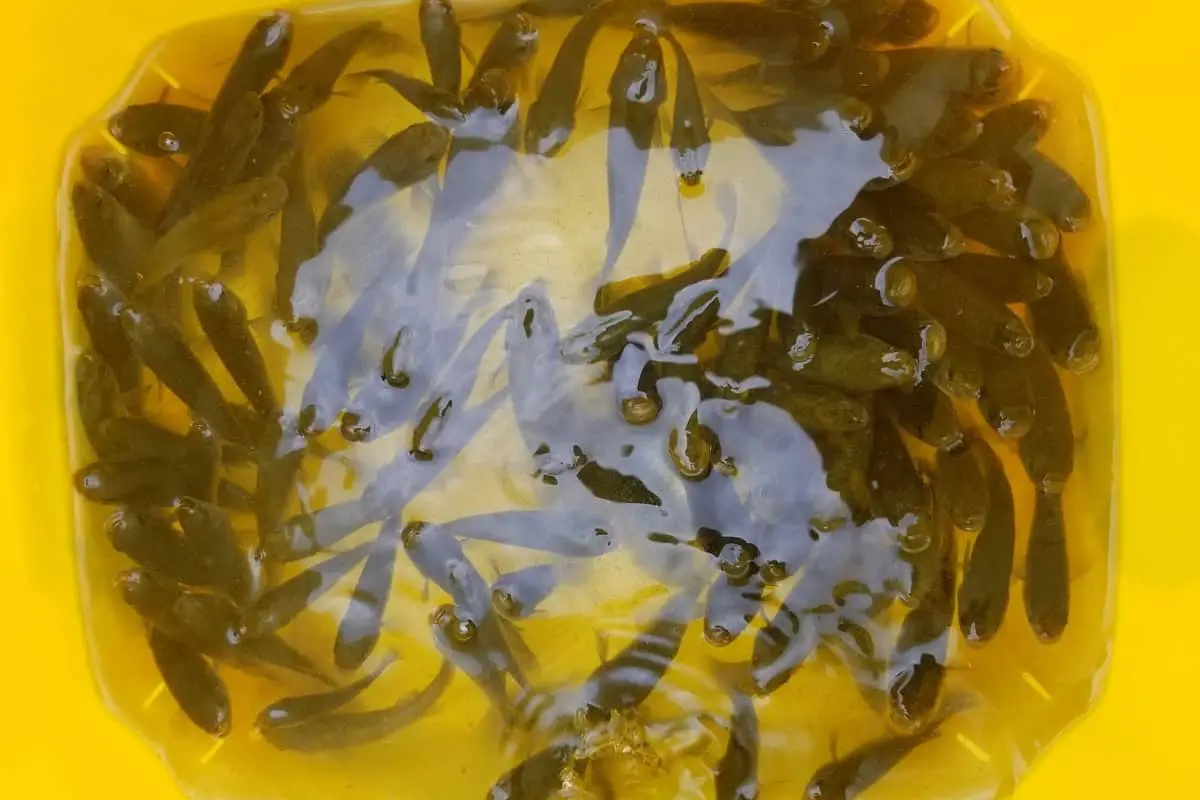
Overcrowding the Bait Bucket
Minnows live in roaming schools with plenty of water surrounding them. When you place too many minnows into a small container, they become stressed!
Also, keep in mind, when you are carrying them by hand or transporting them in a pull-sled or ATV, they are constantly bounced and jostled around! Bumping and banging will cause their protective slime, or mucous, to degrade.
Too many fish in a bait bucket or small container will deplete the oxygen more quickly as well! In an 8-quart minnow bucket, I would place no more than 5 dozen or so. Depending on how quickly you’ll be using them!
Minnow-Produced Ammonia in the Water
When you are keeping minnows in a container, they will excrete waste which builds up in your minnow bucket. This waste is an organic material, and when this breaks down in the water, it produces ammonia.
You can tell when ammonia is beginning to affect your minnows in the bucket when they begin to roll over and start to float belly-side up. Adding ice chis to the water or a small handful of snow will help decrease ammonia levels.
When my tank was up and running at home, I used an ammonia remover which rid the ammonia extremely well! If you have a minnow/bait tank at home, you might want to check this out!

Adding a few drops of Ammo Lock to your bait bucket will rid the ammonia from the water. I used this not only in my bait tank when I had it set up but also for a ten-gallon saltwater nano-tank.
Immediately remove any dead minnows you find in your bait bucket. They will only expedite the increase of ammonia in the water.
Not Enough Fresh Water in the Container
Not having enough fresh water in the minnow bucket will cause numerous issues with your minnows. From a quick depletion of oxygen to ammonia build-up. Two of the major minnow-killers!
When the oxygen levels get too low in the water, you’ll see the minnows coming to the surface, attempting to gulp air. An insulated minnow container with an aerator/bubbler will lengthen the life of your minnows!

A battery-operated aerated minnow cooler like the 8 Quart Frabill Bait Station on Amazon does a tremendous job in keeping minnow water fresh.
Adding additional water to the minnows will bring in more oxygen and dilute the PPM (parts per million) of ammonia in the water. It is a good idea to pour some of the water out, but not all, before adding new water.
Never Put Tap Water In With the Minnows
Tap water contains many additives which are harmful to minnows and fish in general. If you do not have cool lake water available, it is better to use distilled water.
Some minnows are a bit more hearty than others, and when in a pinch, you have to use tap water if that’s all you have. I know guys who have claimed to keep minnows at home by changing tap water daily!
To remove chlorine from your tap water, you can fill a five-gallon bucket and allow it to sit for four to five days. By doing this, you’ll have good water to add to your minnows when you need it.
Rapid Water Temperature Changes Can Kill Minnows
Adding water that is drastically different in temperature than what your minnows are accustomed to can send them into shock. Many ice anglers keep a bait tank in the house or garage, and the water is quite a bit warmer than it is outside.
Caring for minnows begins before you purchase them! One of my other articles, 4 Easy Steps to Caring for Ice Fishing Minnows, will show you how!
Adding smaller amounts of water or ice into your minnow bucket throughout the day is better than adding a whole bunch of water at once. This keeps the water tempered and the minnows healthier!
Keeping Minnows Alive Without an Aerator
For many years I carried my minnows in one of those common, easy-to-break, Styrofoam minnow buckets with the lid attached to the rope handle! If water weren’t in it, more than likely, it would blow away! And they always seemed to get crushed after a trip or two!
Later on, I converted a plastic-insulated lunch box cooler into my minnow carrier, and back then, they didn’t come with aerators! Having an aerator is the best way to go as it does most of the work for you. But if you don’t have one…
- Keep clean fresh water in your cooler
- Remove any dead minnows as you find them
- Add Ammo Lock to rid the ammonia from the water
- Don’t feed the minnows -this will cause ammonia spikes
- Add water or ice chips throughout the day
One more thing about those Styrofoam minnow buckets, keep an eye on the water in them. Once I had tip-ups set out and was inside my portable shack for a few hours and the water around the lid of my bucket froze. I had to bust the lid into pieces to get it back off!
The Hydrogen Peroxide for Minnows
Hanging around some of the old-timers of ice fishing, I have heard them mention adding Hydrogen Peroxide to the minnow water to increase the oxygen content. I will tell you, I have never done this, but here’s the thought behind it.
Since Hydrogen Peroxide chemically is H2O2 and water is H2O, hydrogen peroxide has one more oxygen molecule than water. The theory being, it will add oxygen levels to the water.
Some of you may have seen fishing pros do this to bait tanks and/or live wells. Water will absorb the Hydrogen Peroxide, and as the water passes through the minnows gills, this extra oxygen molecule is filtered out of the water for the fish to breathe.
The accepted practice uses 1oz of 3% Hydrogen Peroxide for every 3 gallons of water. And if you’re aerator quits or breaks, this will keep oxygen in your minnow container.
Keeping Minnows Alive Beneath the Ice in a Shack
Usually, I move around quite a bit, and my style of ice fishing isn’t to remain in one spot for the majority of the day. But many anglers enjoy fishing in a permanent or movable ice shack.
While fishing with a buddy in his shack one season, I was impressed with how he kept his minnows alive all season long!
He would bring minnows to the shack the same way as any other fishermen would bring their minnows to the lake, except he had an aerated minnow on a rope beneath the ice! What a great idea!
- Cut a hole in the ice slightly larger than the minnow bucket w/holes to allow water to pass through.
- Tie a rope to the minnow bucket handle.
- Tie the other end to a dowel rod or stick wider than the hole you cut.
- Dump the minnows you brought along into the minnow bucket
- Hang the bucket in the freshwater beneath the ice!
The stick will keep the minnow bucket from falling to the bottom (you can also tie it off inside the shack as well).
Whenever you need fresh bait or minnows, pull the bucket up, and you will always have fresh minnows that are as lively as can be!
Making Salties – How to Salt Your Dead Minnows
Not all of our minnows will survive the trip to and from the lake. And once you’re home you may not be going fshing for a week or two. What to do with those minnows? SALT THEM!
Salted minnows, or Salties as they are called in Canada, can be used in place of minnows. Check your local regulations, but where I ice fish, live bait isn’t allowed, and Salties can be used with no problem.
The steps for making your own salted minnows:
- Place a colander in the sink or over a container to catch runoff liquid
- Spread a layer of salt in the bottom of the colander
- Place a layer of minnows on top of the salt
- Add another layer of minnows and salt on top of them until you’re out of minnows
- Leave them for 24-48 hours until dried (they’ll still be flexible)
- Place in an airtight container
- Leave them plain or add preferred spices (garlic, cayenne pepper, seasoned salt, etc.)
- Store in a cool dark place or freeze them until needed
We use Salties to tip jigs and spoons in Canada. You can fish them as a live minnow hooked through the dorsal, tail, or mouth. In some areas, you may drop them down the hole as chum!
Salties will last for a long time and you can carry them with you to use when you’re out of live minnows.
Well, that’s how you keep your minnows alive longer on the ice, and you can place the minnow bucket in a cool place or your garage if you bring them home to use the next day.
If you aren’t going to use them, “salt them up” and they will last for months, and longer if you freeze them!
Have fun and stay safe out there!