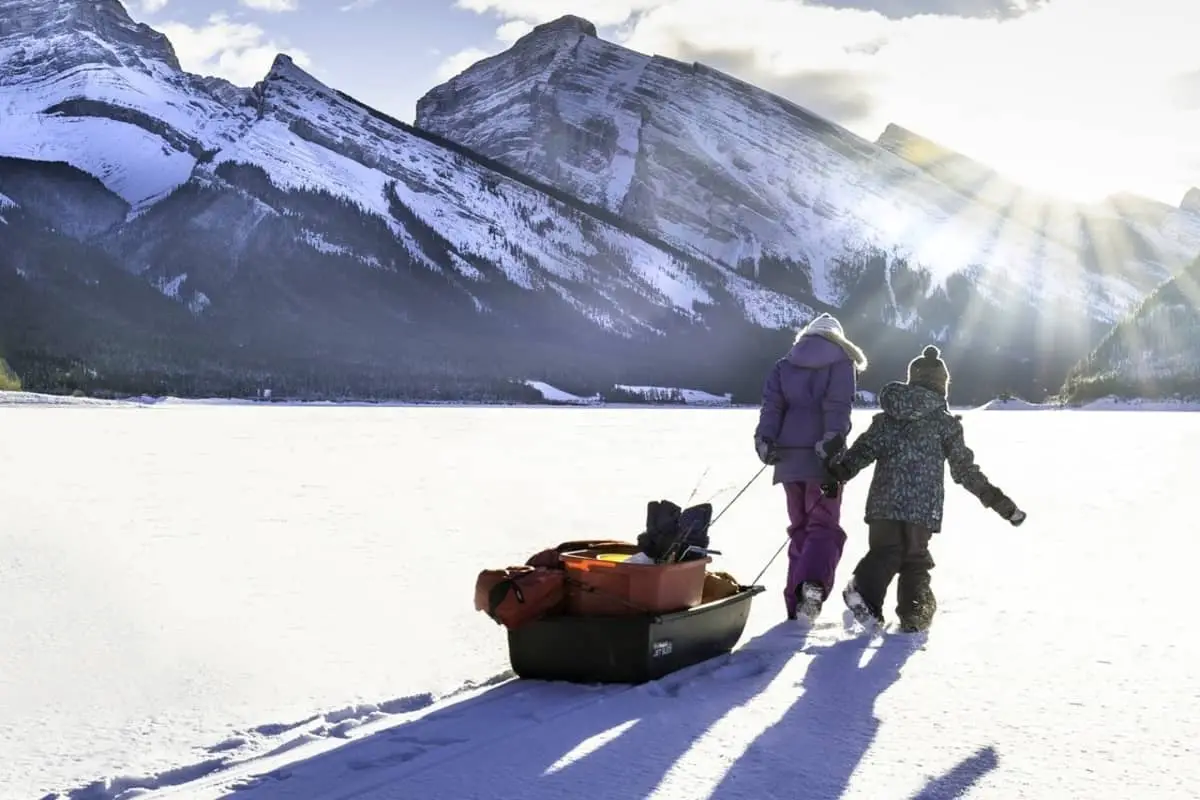
Ice fishing is a great pastime, but using a sled that is difficult to pull can make it far more frustrating than needed. Sleds were designed to make ice fishing easier while pulling your gear across the ice, but is there any way to improve their functionality?
Modifications to make ice fishing sleds easier to pull and improve their functionality include adding skis and a longer pull rope. You can add brackets to hold your equipment and redistribute the weight securely, pack lighter, and use bungee cords to hold your gear in place.
You can make it far more streamlined and functional by adding accessories and customizing/modifying your sled. But how do you add these modifications, and what are some other factors that will assist in making a sled more efficient?
Modifying Your Ice Fishing Sled To Enhance Its Performance
Most ice sleds are made of lightweight, durable polyethylene, which is beneficial because they are exposed to a host of rough terrain and adverse weather conditions while still needing to be light enough to pull.

Even with the manufactures design efforts, there are still other ways to enhance the ease of use and quality of life that you can experience when using an ice fishing sled.
When modifying an ice fishing sled, there is generally a reason for it (unless, of course, you’re a DIY guru who enjoys customizing things as a hobby).
For most of us, these reasons are: either something broke, or the sled is not functioning at its optimum ability and can be improved with a little bit of tweaking.
Most modifications come down to preventing breakages (gear, supplies, and the sled itself), reducing the overall weight, correctly distributing the sled’s weight, and adding beneficial accessories.
Modifications That Can Be Made To An Ice Sled: Examples
Most of the modifications and changes made to a sled will “tick-off” more than one of the reasons (something that prevents breakages will also potentially reduce/better distribute weight).
Below are some examples of modifications and choices which can improve a sled’s ease of use.
- By making specific attachments for equipment, you can ensure that the equipment stays where it needs to stay, with less shuffling around in the sled. This helps to plan the weight distribution to be as efficient as possible and prevents breakages.
These attachments include fishing pole holders, brackets, and mountings to hold augers, shovels, and other equipment.
Adding eye bolts and washers along the sled’s side gives you more points to tie equipment, to prevent it from shifting and breaking. You can also use bungee cables to span across your sled, holding items in place.
- Adding a tarp, or a sled cover (which attaches to the eye bolts), to the sled means that your gear and supplies are covered, and snow does not get in, further weighing down the sled.
Once you have secured your equipment and have covered it with a tarp to keep snow out, you can use a snowmobile or ATV to pull your sled without breakages of your gear and snow getting into the sled.
- Selecting lightweight versions of gear also improves your overall weight. Regular augers tend to be heavy, while lightweight versions, although a bit more expensive, help to reduce the load.
- Packing lighter will also benefit your overall weight and ease of pulling, within reason, though, as you need to be prepared for the cold weather conditions.
- Adding skis to the bottom of the sled means less drag. The sled may dig into the ice (especially if not well packed) or crash into rocks/snowdrifts when loaded.
By adding skis, you change the surface area and amount of the drag (the part in contact with the snow/ice).
Store-bought kits or homemade versions (like snow skis and a frame) will do the trick; it depends on your budget.
How To Add Skis To A Sled
A popular design is the “Smitty Sled;” this is a relatively simple and effective way to add skis to your sled.
Simply put, the idea behind these sleds is:
Attach two skies underneath the sled, with a spacer between the sled’s bottom and the skis.
The process is as follows:
- Bolt or screw four 2X4 blocks under the sled, two in the front and two at the back (otherwise two 2x4s which are long enough to bolt the skis onto). You can screw the blocks through the inside of the sled.
Next, attach the skis to these blocks. Screw them in from underneath (make sure that the screws are flush with the bottom of the ski to avoid unnecessary drag).
- Alternative: A bit more complicated. Using the same downhill type skis, attached two one-inch plastic blocks per ski (one at the top, one at the bottom). These blocks need to have a hole cut into them to accommodate the legs.
Aluminum or other lightweight metal should be used to make stands/legs which attach to the holes. These legs/stands are comprised of one horizontal bar and two vertical bars welded together, with the horizontal bar at the top of the two vertical bars.
The vertical bars enter the holes, and the horizontal bar then bridges the two skis.
The sled itself can then be attached to these horizontal bars.
The attachment can either be permanent or done in such a way so that the skis can be removed for easier transport.
Here is an excellent video of how it’s done:
Other Quality Of Life Improvements
Sometimes the “ease” of pulling is not only related to improved movement; sometimes, it includes the use of the sled in general.
Some modifications to sleds that can improve the overall user experience include:
- Consider adding a light to the sled, especially one that can rotate, allowing you visibility around the sled, as well as for finding gear inside the sled.
- Making Rod holders allows you to transport and use rods conveniently. By constructing these holders out of PVC pipes, you can save a pretty penny as well.
Factors To Consider When Purchasing A Sled That Contribute To Ease Of Pulling
Many of the modifications that you can do/need to do to your sled will depend on the model of ice sled that you purchase.
If it seems like there is too much that needs to be done, consider purchasing a different sled, which comes pre-installed with some of these extra gadgets, especially if you are not the DIY sort.
Choose a sled that can be either hand-pulled with a rope or towed by a snowmobile or ATV.
Make sure when purchasing an ice sled that you buy one that is a suitable size and which can carry a reasonable weight to house all your gear and supplies, as well as your catch.
It doesn’t help to take a smaller sled where your gear ends up falling out, but if the sled is too big for you to comfortably pull/too much-wasted space after all your equipment is in, then that also is not ideal.
Augers, fishing rods, shovels, and shelters are large and potentially heavy items that must be considered when purchasing, building, or modifying a sled.
High-sided sleds are also recommended to keep your equipment safe, and they will provide more space for customization.
Sleds need to be a combination of lightweight and durable, lightweight for hand pulling, but durable for the rough terrain that it needs to endure, especially if you tow it behind an ATV or snowmobile.
Conclusion
With some slight modifications, your effective ice fishing sled becomes an essential piece of ice fishing equipment. By adding skis, a few brackets, and some tying points, you can ensure all your equipment stays where it needs to, even if hiking and dragging your gear across wilderness trails!
Have fun and stay safe out there!

